Azure Security - Easy Wins - Part 1
Welcome to my first post of 2021! Happy New Year to you all. For most, 2021 has started as it’s elder sibling left off. However, I am hopeful that there is light at the end of the tunnel for us all.
I am starting a small series called ‘Azure Security - Easy Wins’. In this series I will talk about quick, easy changes you can make to your Azure tenant to improve your security posture. In the future, there will also be some video content to go with this series.
In part 1, we are going to walk through an easy way to make sure that you stay up to date with the recommendations coming out of Azure Security Center.
Throughout my journey as an IT Pro, I often find that security features get switched on and then forgotten about. Security is not a set and forget area. Maintaining your organisations security posture is a constant journey where you must keep up to date with the changes in your infrastructure as well as the constantly changing threat landscape.
This is no different when Azure Security Center is enabled. Azure Security Center and it’s paid for plan, Azure Defender (previous Azure Security Center - Standard Tier), has many fantastic features to help us protect our cloud and hybrid workloads. Unfortunately, just switching it on is not enough.
In this article, we will make use of Azure Security Center’s workflow automation feature to ensure that, while we may not look at the Security Center portal everyday, we can stay up to date with the recommendations contained within it.
Requirements
- An Azure subscription (Please Note: There is a charge associated with Azure Logic Apps which is based on the number of operations and connectors. Please consult the Azure Calculator for details.)
- Azure Security Center, with or without the Azure Defender plan.
- An Office 365/Exchange Online subscription with a mailbox or distribution group that will receive the updates.
Step by Step
I’m using my test Azure subscription to complete these tasks. As you can see in the image below, despite only having 1x Virtual Network and 1x Virtual Machine, Azure Security Center has a number of recommendations to help me improve my security.
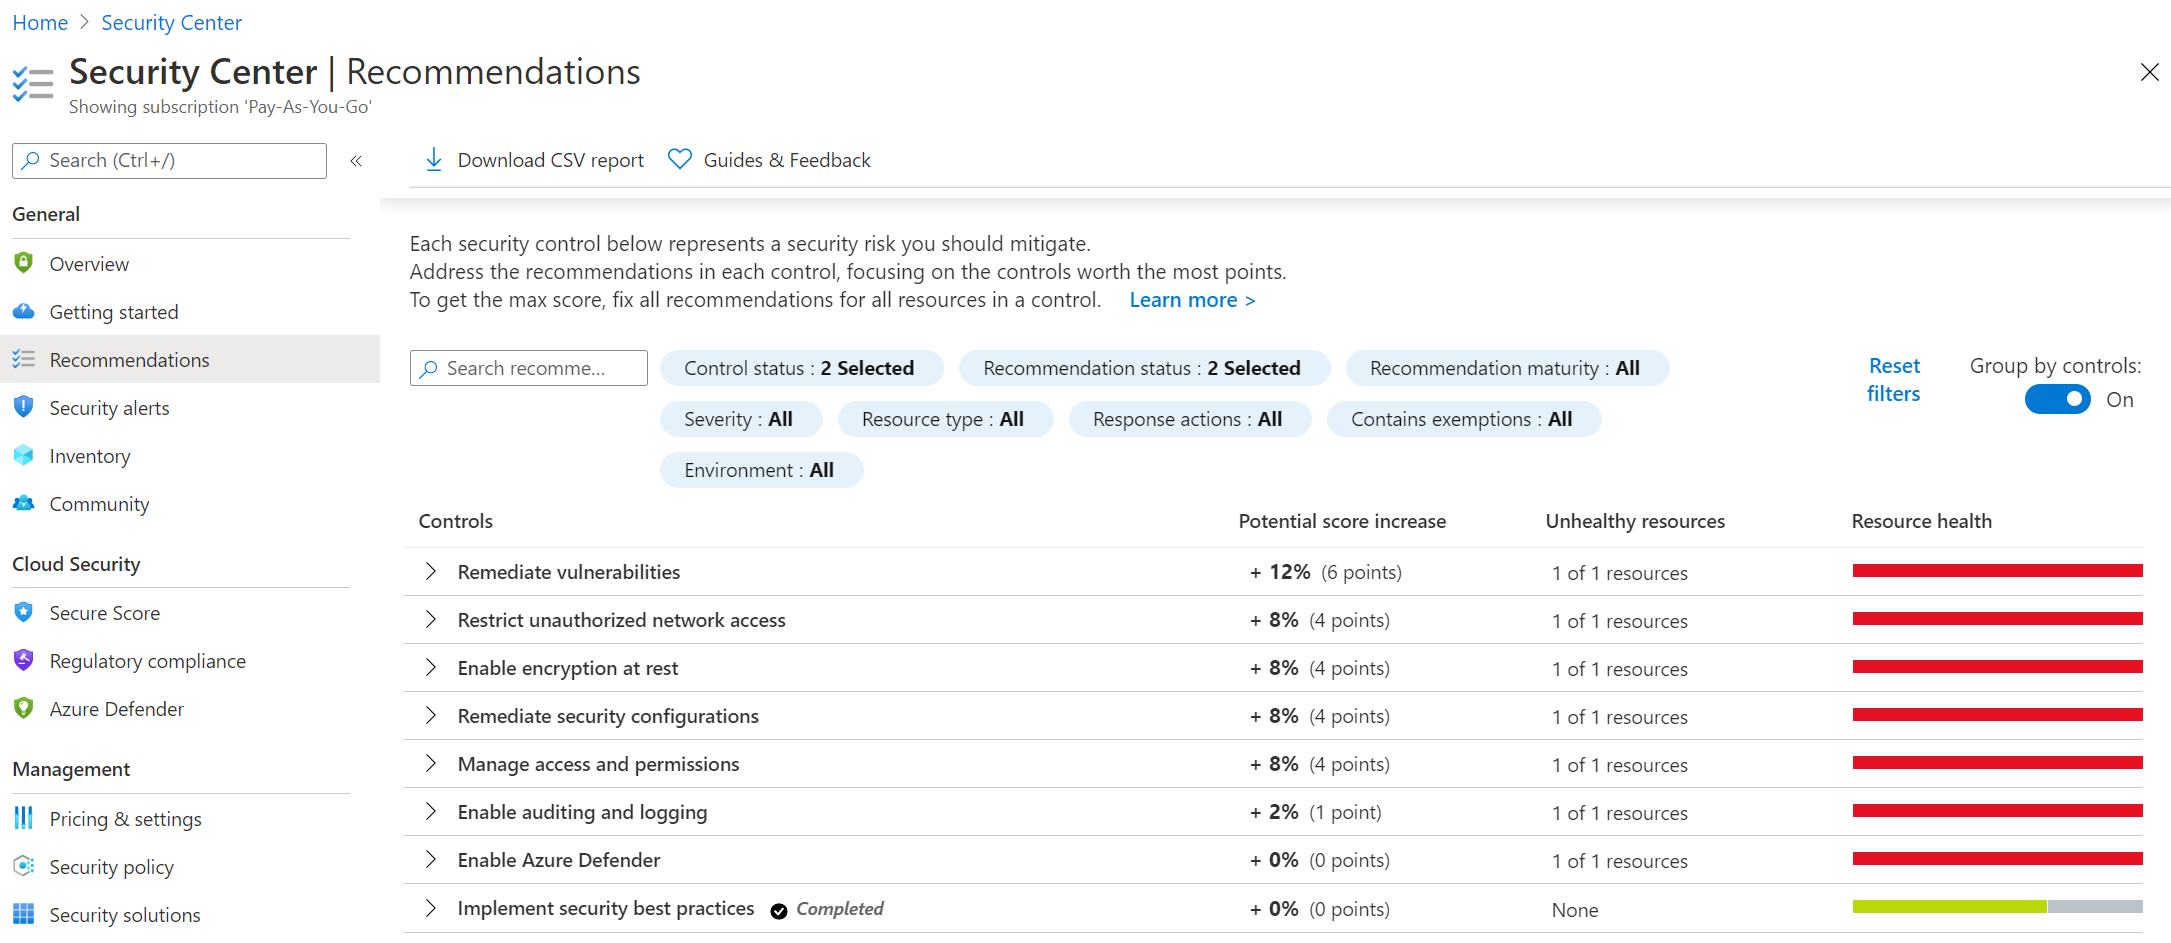
You could log in periodically to check these recommendations, you could even download the CSV file using the option shown above. For our use case, we are going to obtain recommendations by email as they are added.
Create a Logic App
First off, we want to create a Logic App that will detect when a new recommendation is posted in Azure Security Center and then email it to our designated mailbox. You could start by creating the workflow automation first but the process flows better if we start here.
To get started, search for Logic Apps within the Azure Portal. Once on the Logic Apps blade just hit add to start the configuration.

In the resource creation pane, give your Logic App a name, select your subscription, resource group and region.
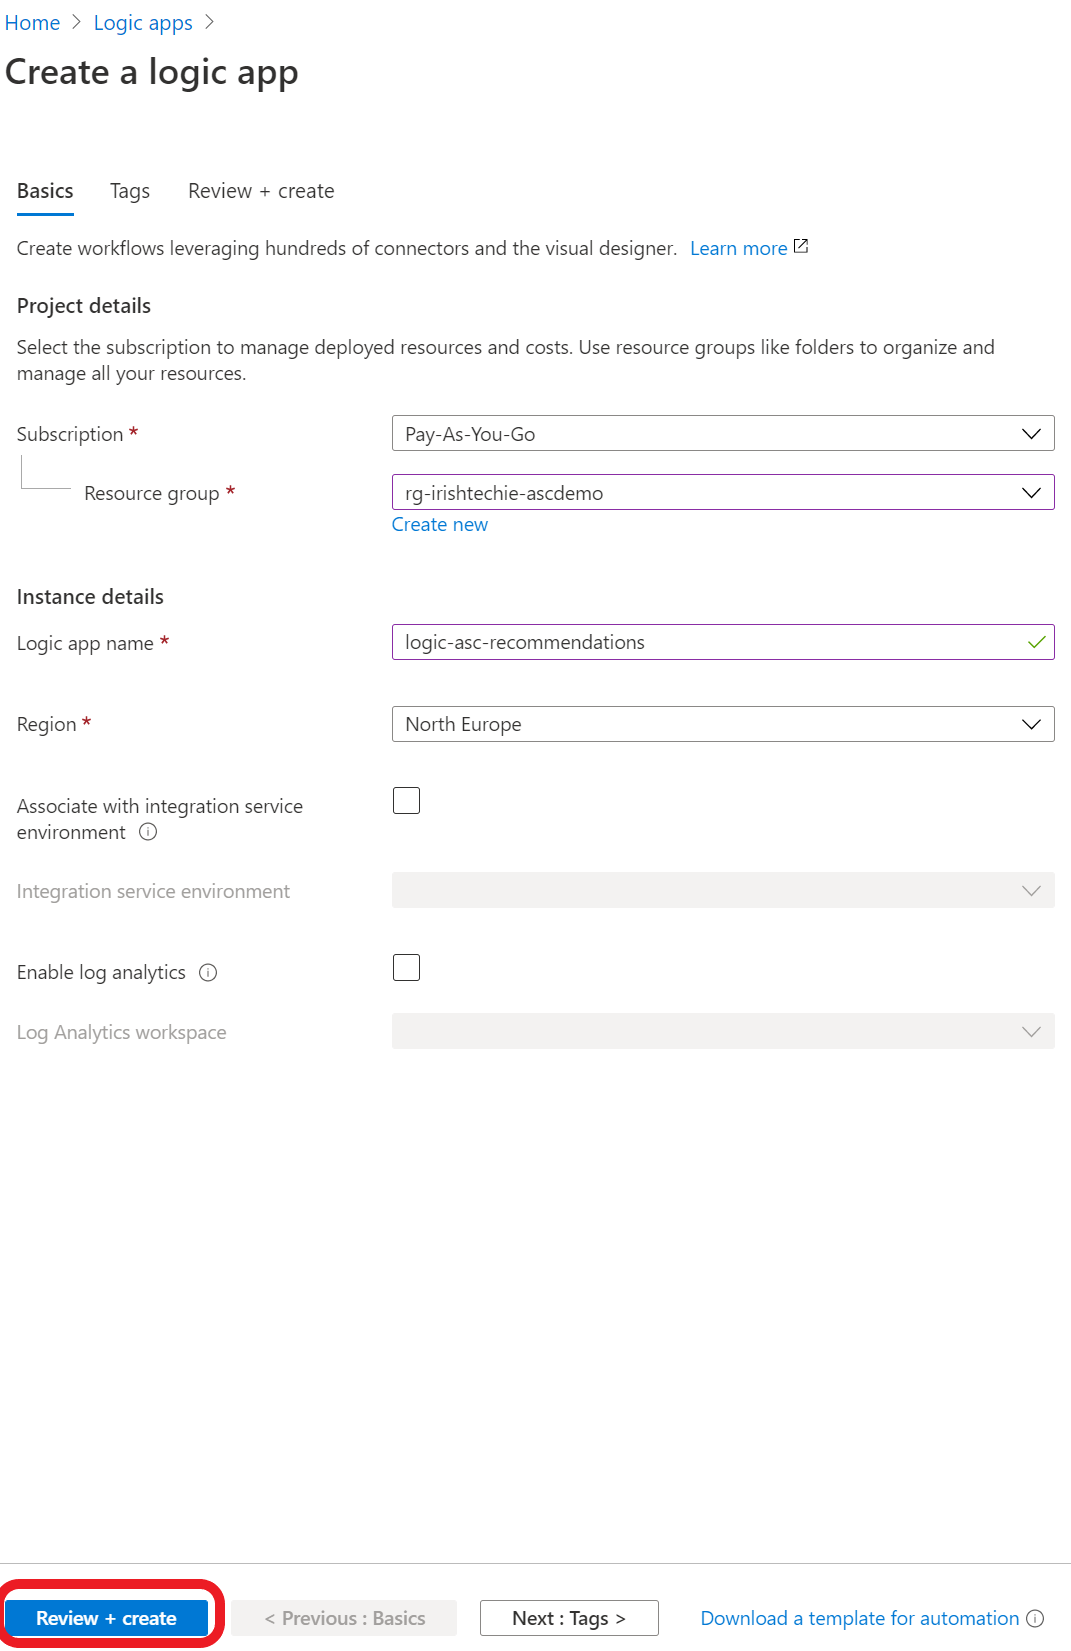
Once you are happy with the initial settings click ‘Review and Create’ then hit ‘Create’ once the validation completes.
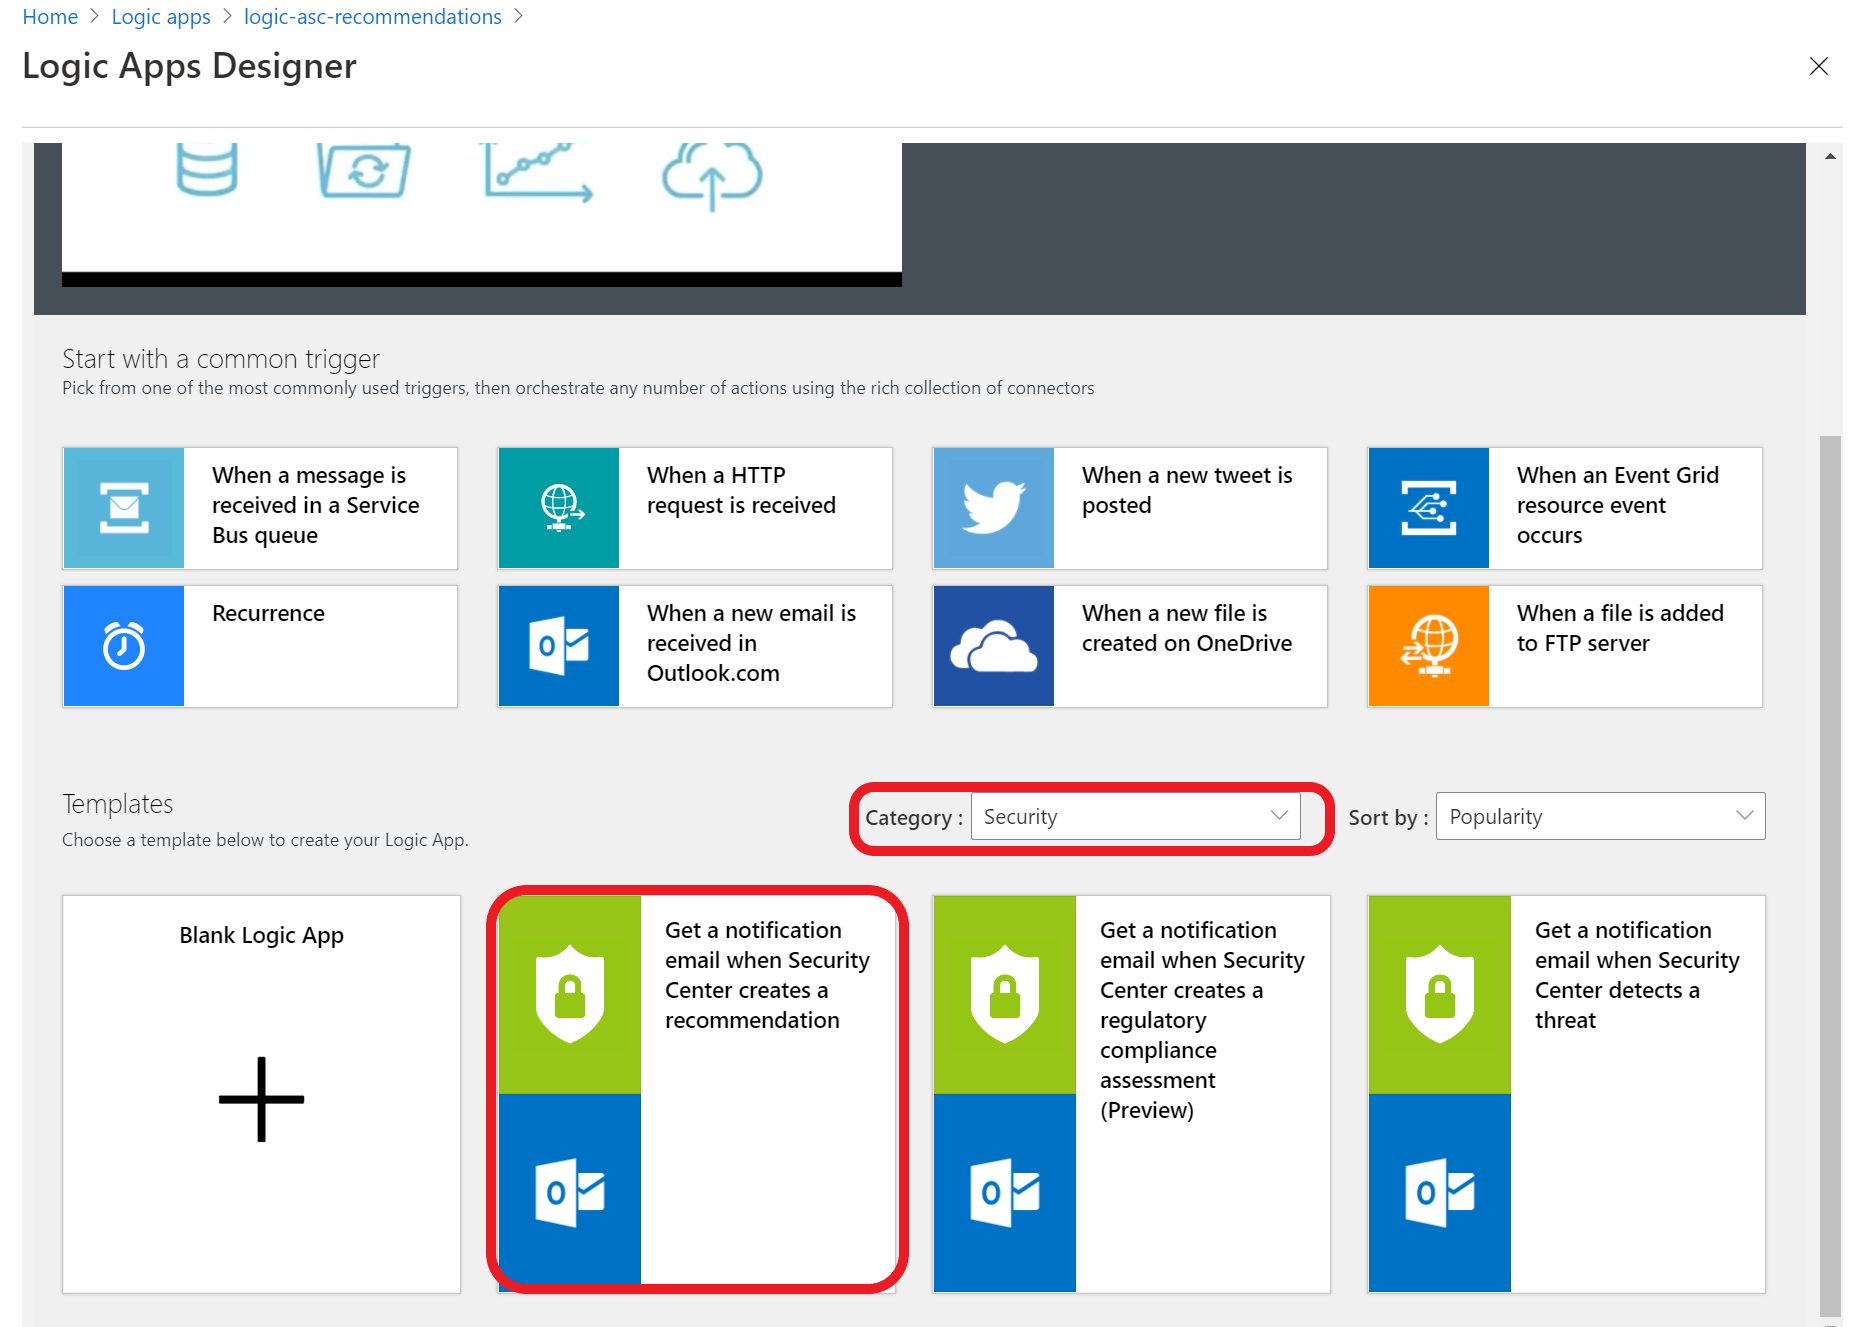
Once the deployment has completed click “Go to resource”. You will be presented with the Logic Apps Designer blade shown below. Scroll down to the templates section and select ‘Security’ from the category drop down and select the ‘Get a notification email when Security Center creates a recommendation’ template as shown below.
Next, we need to configure our Logic App template. Follow the steps below:
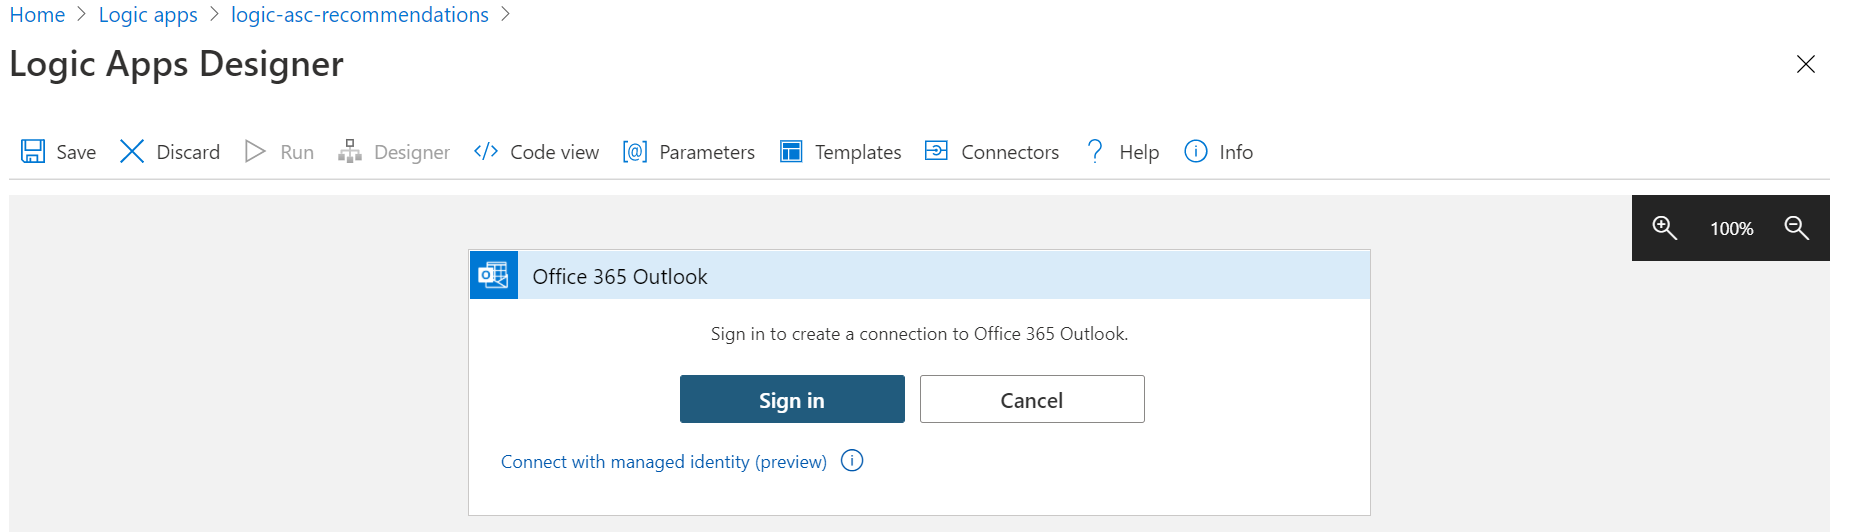
- Hit the ‘+’ sign next ‘Office 365 Outlook’ to connect to an Office 365 account.
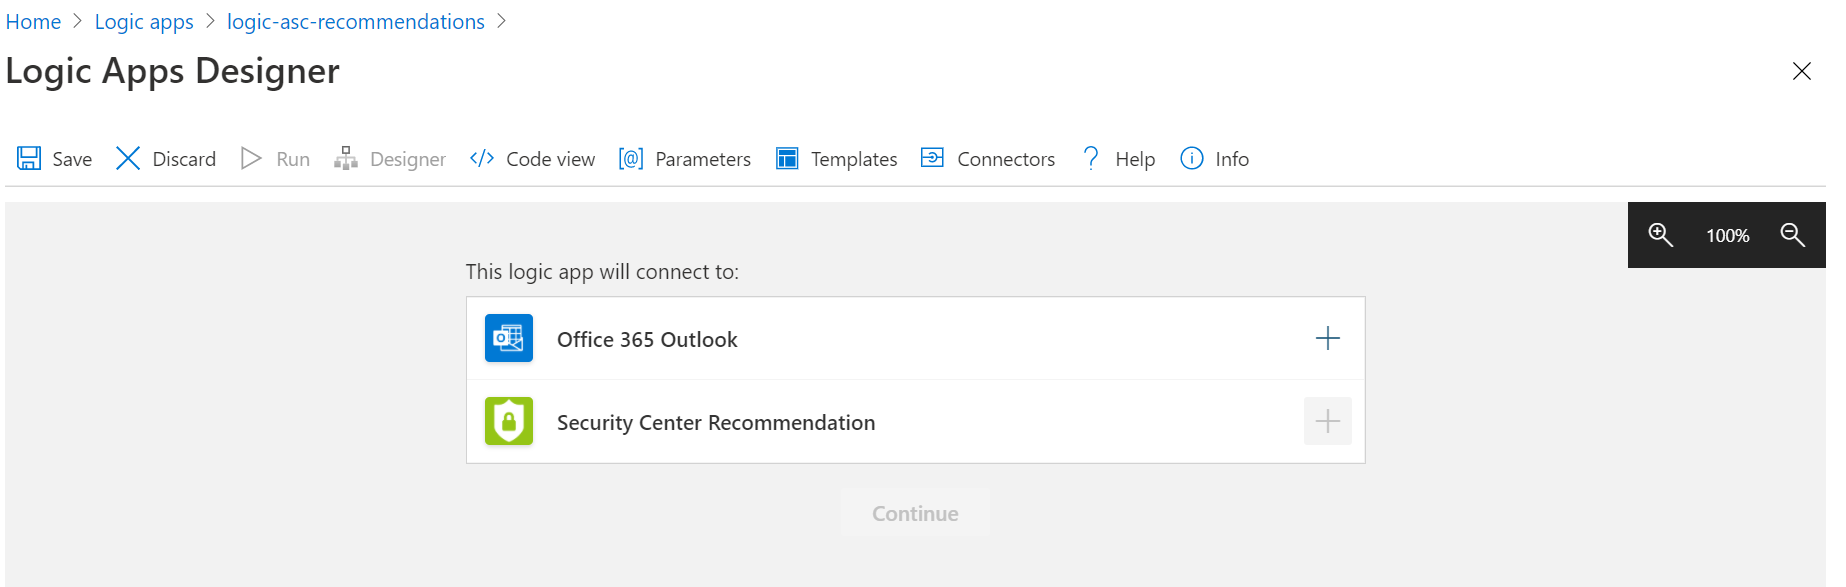
- Sign in with appropriate credentials.
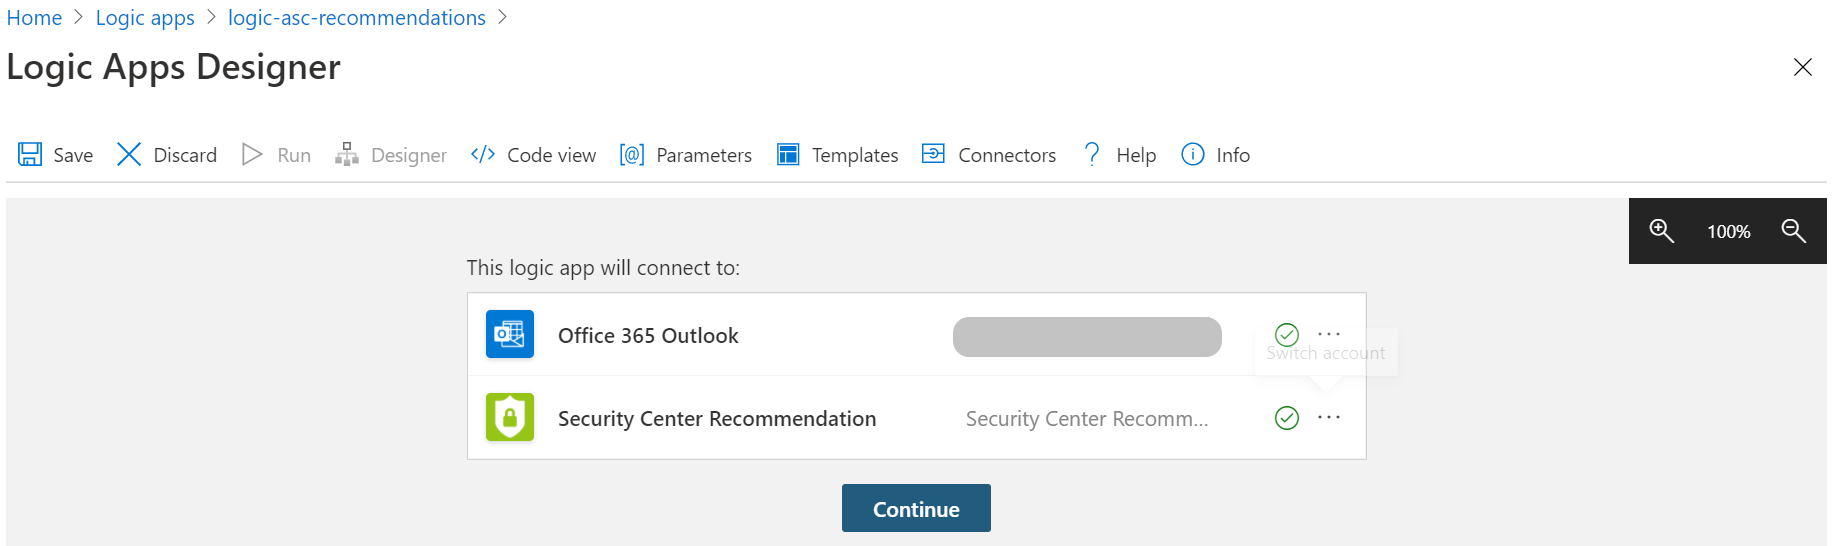
- Hit the ‘+’ sign next to ‘Security Center Recommendation’. This will automatically make the connection to your Azure Security Center.
- Once that is all done, you will see 2 green ticks as shown below. Just hit continue.
- In the next step we will configure the destination mailbox for emails generated by this Logic App. You can modify the email body if required.
(Please Note: The original template has an obsolete variable called ‘Properties Links Azure Portal [Obsolete]’. In my config, I have replaced it with ‘Properties Links Azure Portal URI’. Just delete the obsolete variable and add the correct one from the dynamic content list that appears.)
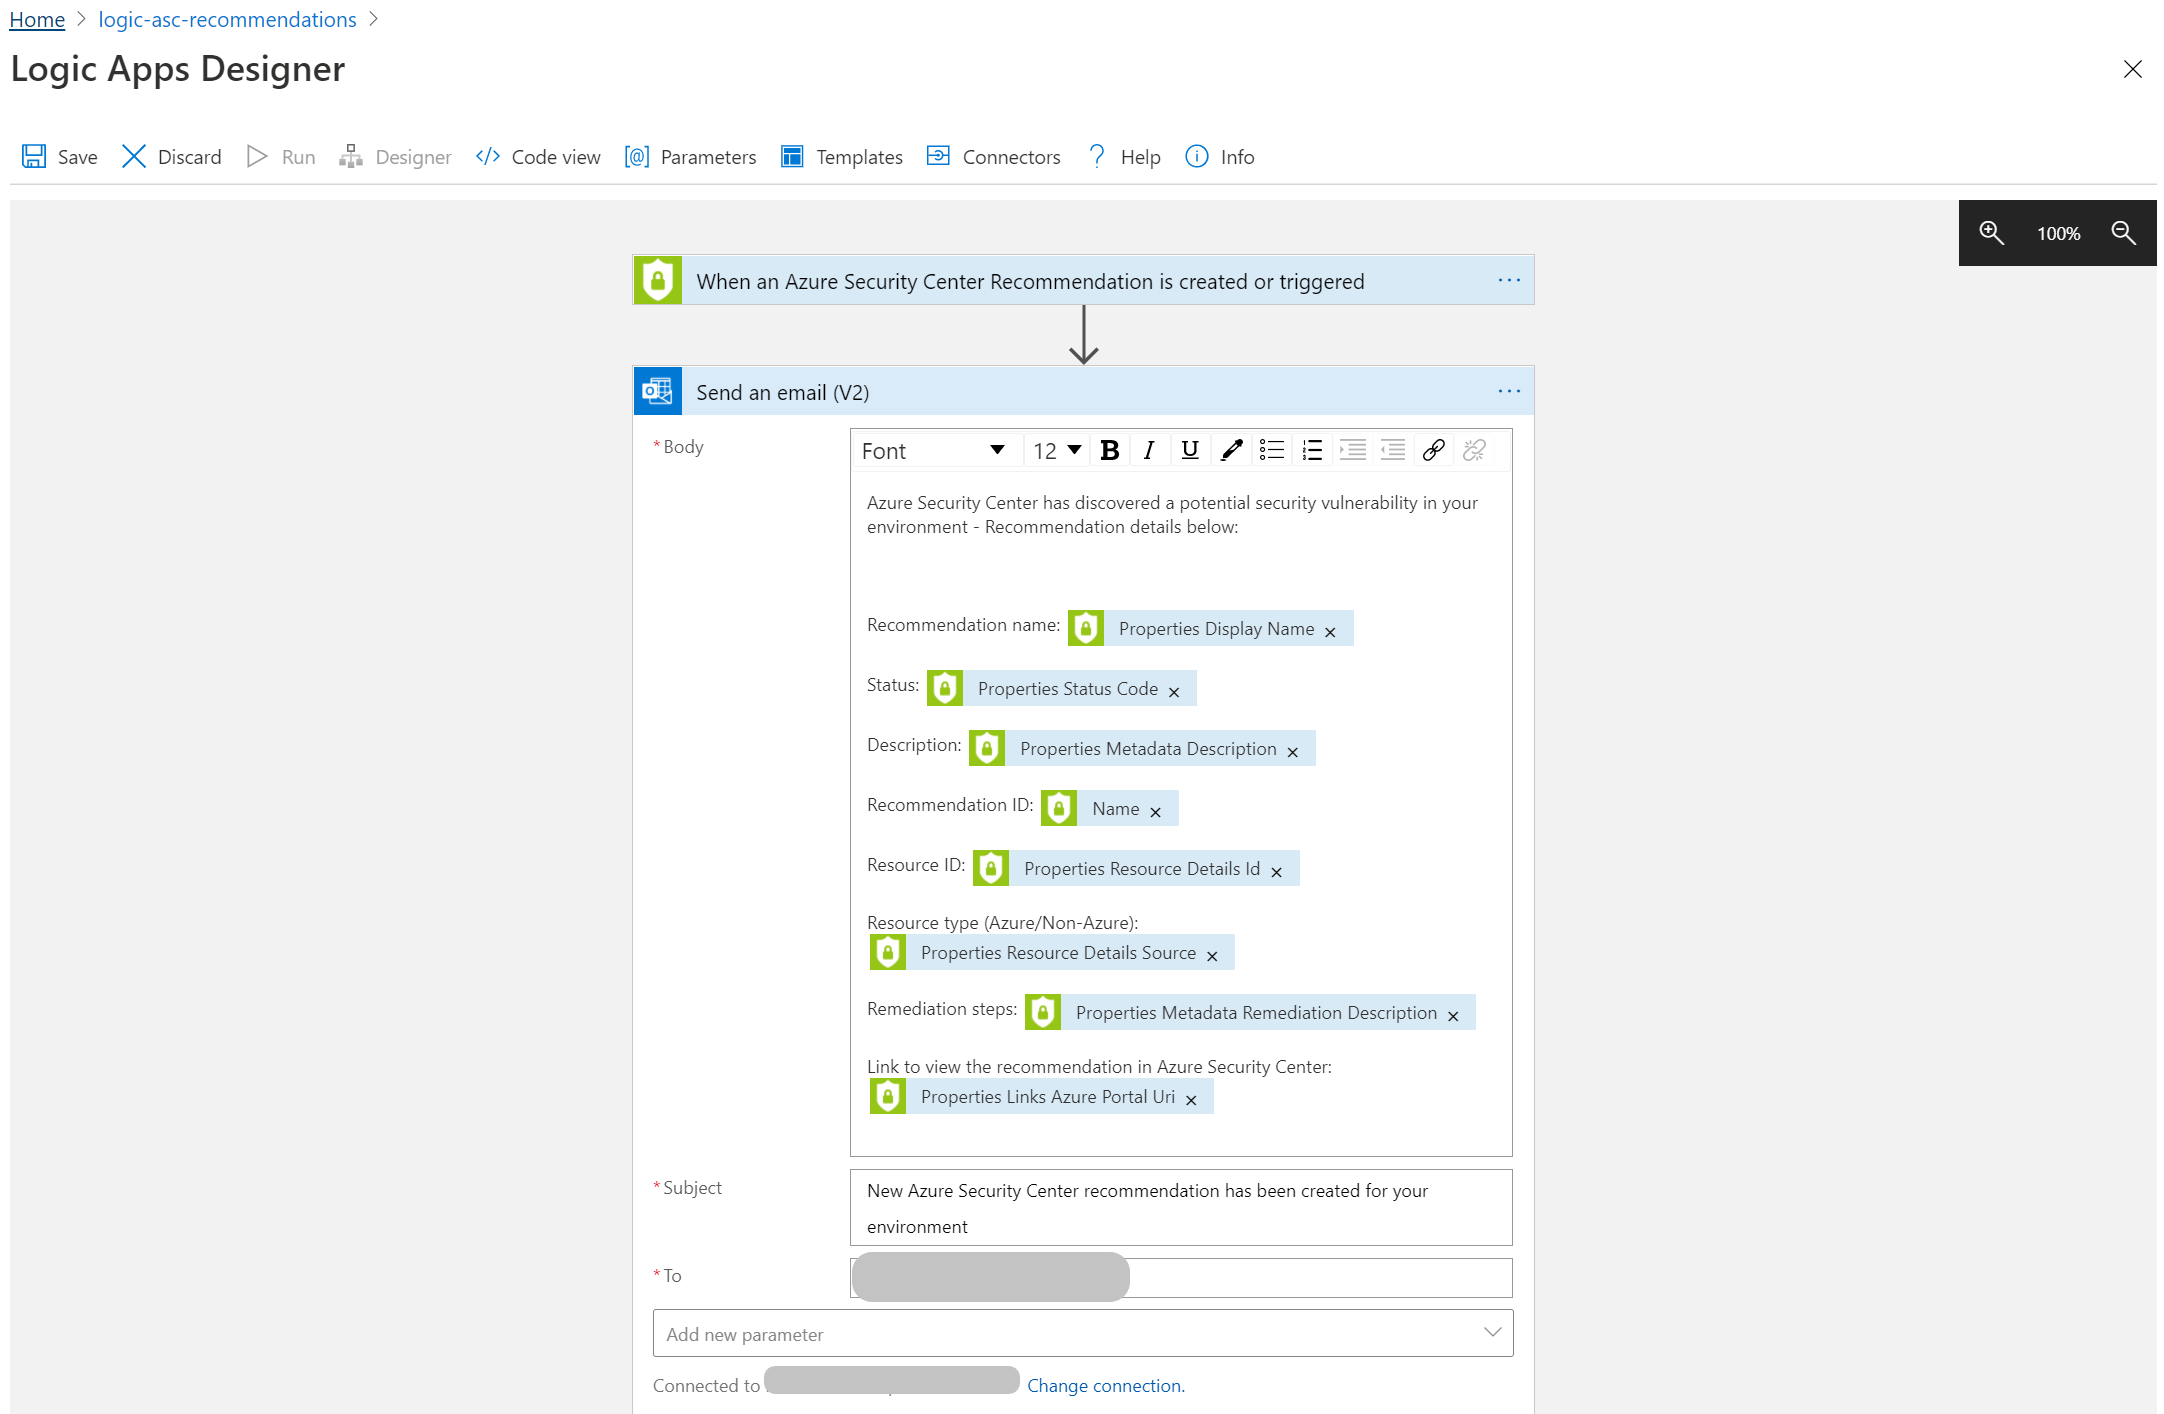
- Hit save to complete the configuration of your new Logic App.
You could expand further on this template by adding a 3rd step where it posts a message to Microsoft Teams. Once you have the above configured and linked it to the workflow automation in Security Center, you will get an email every time there is a new recommendation.
Workflow Automation
Moving back to Azure Security Center, we can create the “Workflow Automation” configuration that will make use of the Logic App we just created.
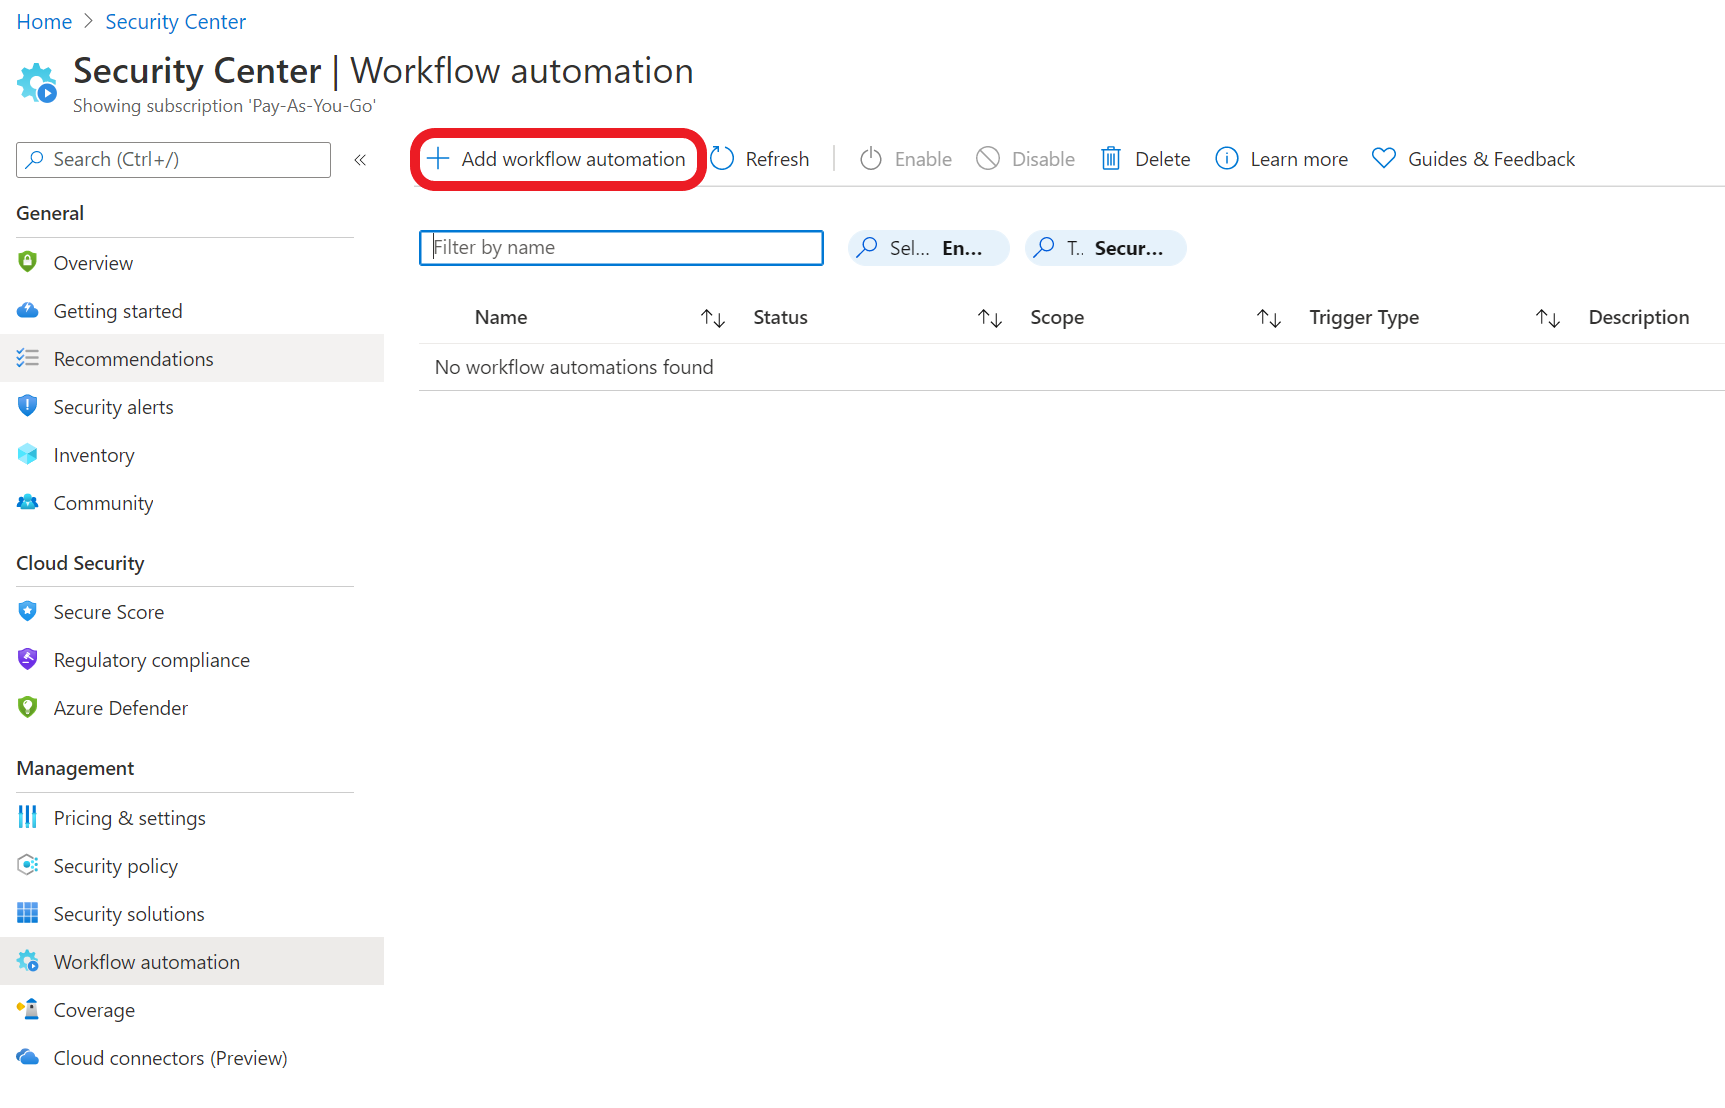
To get started, we will need to be in the Azure Security Center blade. From there, hit the ‘Workflow Automation’ link on the left.
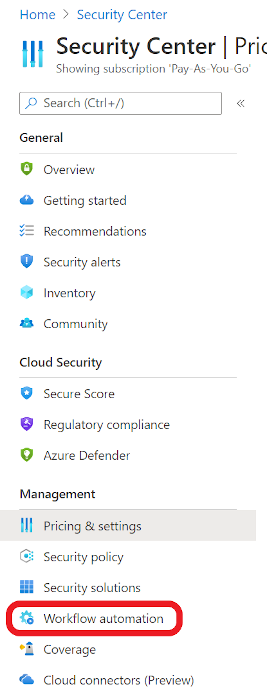
On the workflow automation blade, hit ‘add workflow automation’ to open the configuration pane.
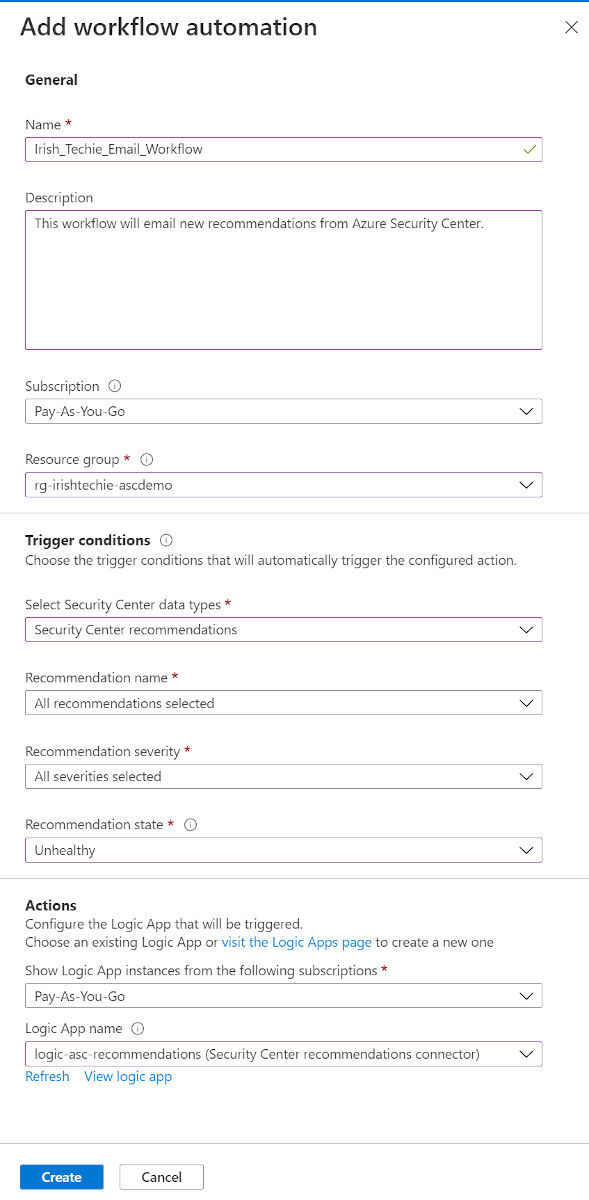
You can then configure the workflow automation to suit your needs. Enter a name and then select the appropriate subscription and resource group. It would also be helpful to enter a brief description of what the workflow is expected to do. This way, the next engineer to look at this knows what you intended when you created it. If you’re coming from a development or coding background, think of this as adding brief, informative comments throughout your code to convey intent and to help the next person to look at your code.
Next, configure the trigger conditions as shown below. You can customise these options to suit your needs. For example, you could configure this workflow automation to only give you specific recommendations or specific severities.
Moving on to actions, select the Logic App that you created previously and hit create.
Once you’ve finished, you will see your new workflow automation appear similar to the below.

If you’ve followed along, you now have an Azure Security Center Workflow Automation which leverages a simple Logic App to deliver new recommendations to your inbox. This will help you to maintain your security visibility and can help you stay on top of your security posture.
What next?
If you want to do more with the services mentioned above, you can extend the Logic App by adding a step that sends a message into Microsoft Teams. You can also use Workflow Automation and Logic Apps to perform similar actions as new threats are detected by Security Center.
As always, I appreciate you taking the time to read this post. Keep an eye on my blog for more in the ‘Azure Security - Easy Wins’ series.
Thanks for reading! Feel free to reach out and connect with me on LinkedIn or Twitter.
Stay safe and keep on learning.