
My Cloud Native Adventure - Part 2
Welcome to Part 2 of My Cloud Native Adventure. If you want to catch up on the journey so far, you can use the following link My Cloud Native Adventure. I’ll be keeping all of the articles together in a collection that can be accessed by clicking the previous link.
At this stage of the adventure I am still going through the Linux referesher using the resources mentioned in Part 1. In the next week or two, I’ll be moving on to the Kubernetes stage of this adventure. I even registered for the CKA (Certified Kubernetes Administrator) exam, which means I have 12 months to sit and pass!! Don’t worry though, I’ll be revisiting Linux in a lot more detail later this year.
The learning this week was mostly centered around files, file manipulation, and text editors. More on that below.
Let’s talk text editors
Without wanting to start a flame war, I will attempt to talk about some of the text editors available within Linux. You may have heard the term “Everything is a file” in Linux. While not completely accurate, it mostly holds true. Which is why it’s very important to become familiar with one or more of the text editors available within your Linux distro.
As mentioned in one of my previous articles, Linux knowledge is very important in a cloud first world. Most of your interactions within Linux will be via the shell. It is rare that you will have a Windows-like desktop environment to work with. With this in mind, it’s useful to learn how to create and edit text files at the command line.
The two text editors I am familiar with are nano and vi. There are other editors available, such as emacs, but I won’t explore any of these here.
Nano is a fantastic text editor. When compared with Vi, I have a lot more experience with Nano. It’s simple, easy to learn, and uncomplicated. As you can see below, the commands are fairly straightforward. If you’re just starting out, nano is a great editor to start with.

These commands are shown at all times, so you aren’t scrambling to save and/or exit your file.
Vi or Vim on the other hand is a different beast. Vi is a very powerful editor and is also the default editor for most Linux distributions that I’ve encountered to date. I’ve always been afraid of Vi. Afraid of gettng trapped in a file and being unable to exit or save any changes. This meant that I’ve kept nano close to me at all times.
With that being said, as I refresh my Linux knowledge, I want to make sure that I improve my Vi skills. I can’t always guarantee that nano will be available but I can say, with almost complete certainty, that Vi will be installed.
I’m using the built-in vimtutor to learn how to handle Vi. Enter vimtutor at the shell and you’ll be presented with a text file that looks like this:
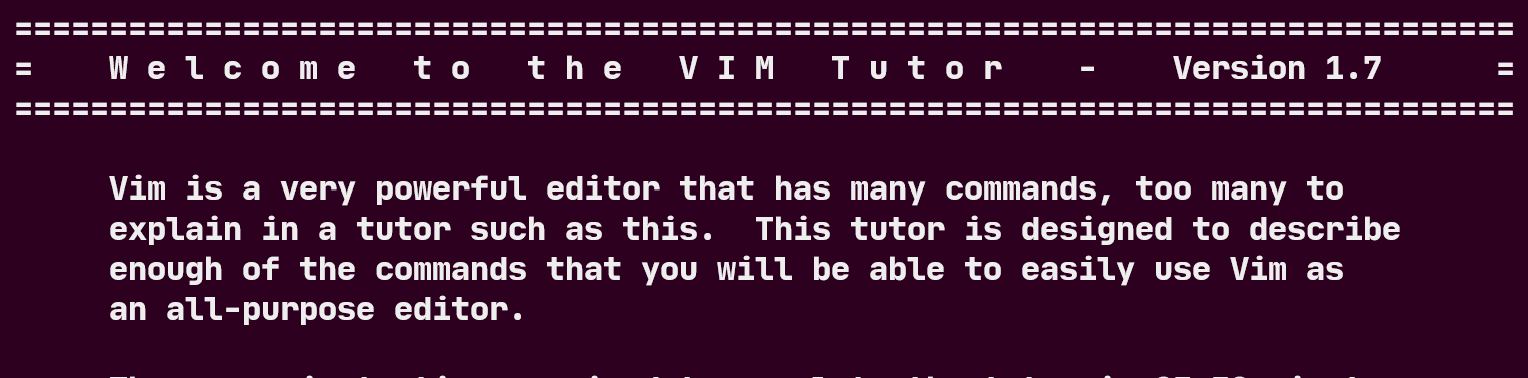
Vimtutor helps you learn Vi by having you edit a tutorial text file. If you want to learn Vi, I recommend you start here before moving on to other learning resources.
Important Vi commands:
- Use the arrow keys or h (left), j (down), k (up), l (right) keys to navigate around a text file.
- ESC key to return to ’normal’ mode.
- Exit Vi without saving your changes with key combination :q!.
- Use the x key from normal mode to delete the character at your cursors location.
- Use the i key to enter ‘insert’ mode. Just move your cursor to the location you want to insert text and hit ‘i’.
- Use key combination :wq to save your work and exit your file.
I’m sure there are many, many commands to learn when using Vi but, the above will make sure you never get that trapped in Vi feeling ever again.
Key Commands
First up, let’s revisit the Key Commands section that we started last week. This week we’ve added some really useful commands. I hope you find these useful. As with last week, remember that the ‘man’ command is your friend. Remember you can access this and other resources from my Cloud Native Adventure in the GitHub Repository.
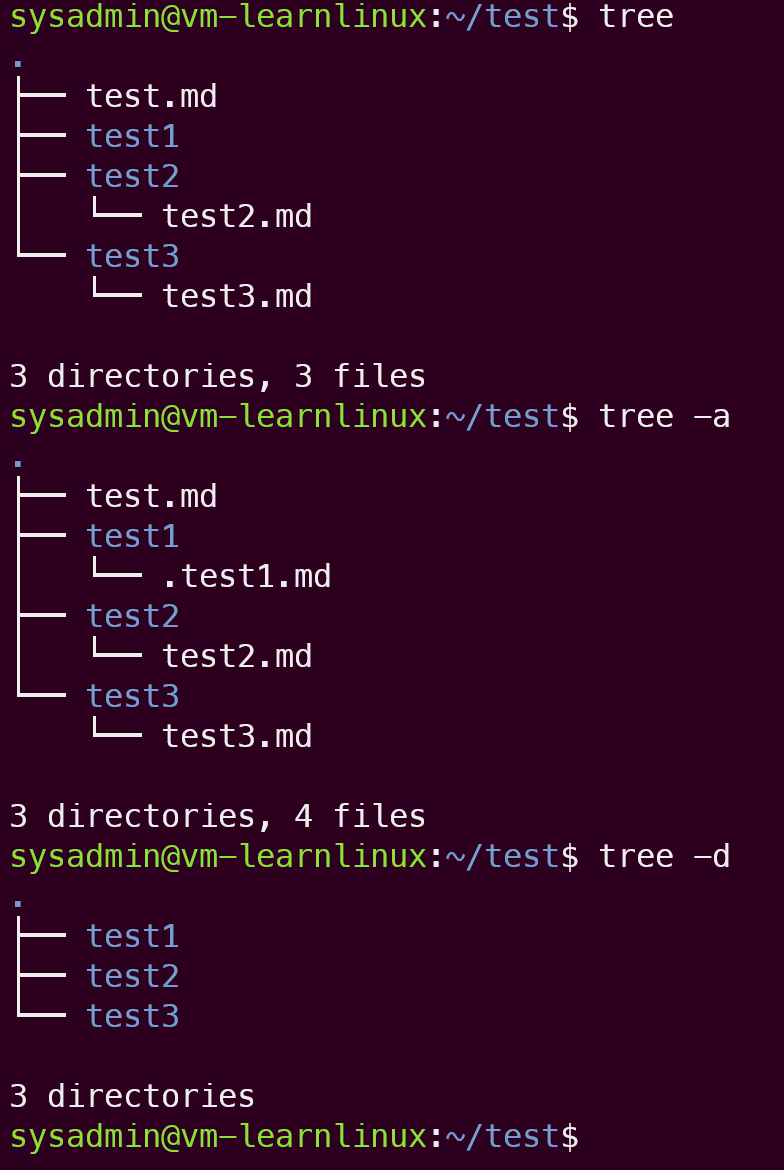
- tree: Tree is a very useful command. You can use it to print the directory tree, recursively, from your current working directory. Use ’tree’ to list files and directories, ’tree -a’ to include hidden objects, and ’tree -d’ to list only directories. See the image below for more information. Use ‘man tree’ to get more information.
- less: The ’less’ command allows you to display a file, one screen at a time. Very useful when dealing with large files. Use ‘space’ to scroll foward through the file. Use ‘man less’ to get more information.
- tail: Use the ’tail’ command to print the last 10 lines of a file to the screen. You can use the ‘-n’ switch to change the number of lines printed. Use ‘man tail’ for more information.
- head: Pretty much the exact opposite of the ’tail’ command. As above, use ‘-n’ to change the number of lines printed. Use ‘man head’ for more information.
- diff: The ‘diff’ command can be used to compare two files. Use ‘man diff’ for details.
- locate: The ’locate’ command helps find files by consulting system databases. Note: these databases aren’t updated in real time, so any recent file additions or removals won’t show in the results. Use ‘man locate’ to get more information.
- find: The ‘find’ command is another search utility. Unlike the ’locate’ command, ‘find’ searches in the directory hierarchy for your search terms. Use ‘man find’ for details.
- rsync: Use the ‘rsync’ command for fast file copying from one location to another. It can even handle remote locations. Use ‘man rsync’ for more details.
- File compression utilities: As in Windows, there are many file compression utilities to choose from on Linux. There are pros and cons of each which I won’t explore here. Check out the man pages for details.
- gzip: Check out ‘man gzip’ for details.
- bzip2: Check out ‘man bzip2’ for details.
- xz: Check out ‘man xz’ for details.
- tar: ’tar’ is an archiving utility used to group files into an archive. It’s often used with one of the above compression utilities to archive and compress a group of files into a single compressed archive. Use ‘man tar’ for details.
- dd: ‘dd’ is another copy utility, only this time we are dealing with hardware devices such as disks. Use ‘man dd’ for details.
Up next
I’m close to the end of my Linux refresher. The next couple of blog articles will cover some bash basics as well as local network and security basics for your Linux system.
Please Note: I am not affiliated with any of the organisations or businesses linked above. These are my recommendations, I have not been paid to talk about any of the above.
Thank you for taking the time to read this article. Feel free to reach out on social media if you want to chat or discuss any of this further.